DIY Shoe Repair with Glue
GLUE TIPS
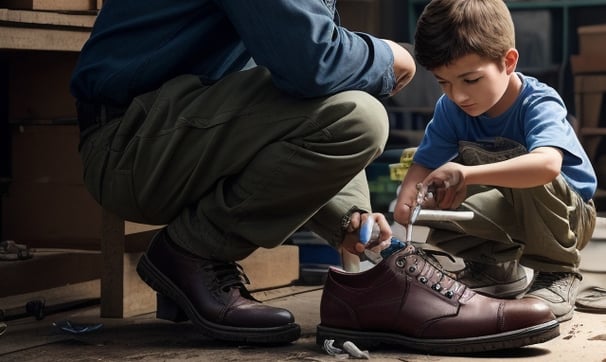
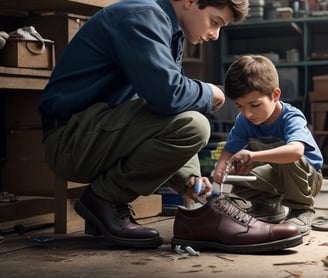
This blog post provides a step-by-step guide on DIY shoe repair using glue, offering instructions on assessing damage, required materials, and the repair process to extend the life of your favorite footwear.
Step by Step: DIY Shoe Repair with Glue
Your favorite pair of shoes has seen better days, with worn-out soles or separated soles, but it doesn't mean it's time to say goodbye just yet. With the right tools and a little know-how, you can perform a DIY shoe repair using glue and extend the life of your beloved footwear. In this blog post, we'll guide you through the process, from assessing the damage to achieving a professional-looking repair.
Assess the Damage:
Before you dive into the repair process, it's essential to assess the extent of the damage to your shoes. Here's what to look for:
Sole Separation: If the sole of your shoe has detached from the upper, you'll need to address this issue first.
Worn Soles: If the sole is simply worn out or has holes, it's time to resole your shoes.
Materials You'll Need:
For this DIY shoe repair, you'll need the following materials:
Shoe Goo or Barge Cement: These specialized shoe adhesives are designed for repairing footwear.
Clamps or Heavy Objects: You'll need something to hold the shoe components together while the glue sets.
Sandpaper: To prepare the surfaces for bonding.
Utility Knife: For trimming excess adhesive or rubber.
Replacement Soles (if needed): If your shoe soles are beyond repair, you can purchase replacement soles.
Step-by-Step Shoe Repair:
For Sole Separation:
Clean the Surfaces: Use a cloth or sandpaper to clean both the shoe sole and the upper to remove any dirt, debris, or old adhesive.
Apply Adhesive: Spread a thin, even layer of shoe adhesive on both surfaces (sole and upper).
Press Together: Carefully press the sole and upper together, ensuring proper alignment.
Clamp or Weigh Down: Use clamps or heavy objects to apply pressure on the glued areas. Allow it to dry as per the adhesive manufacturer's instructions.
For Worn Soles:
Remove Old Soles: If your shoe soles are worn out, carefully remove them using a utility knife.
Clean the Shoe Bottom: Clean the bottom of the shoe to ensure a clean surface for bonding.
Apply New Soles: Cut the replacement soles to match the shape and size of your shoes. Apply a layer of adhesive to both the shoe bottom and the new sole. Press them together firmly.
Clamp or Weigh Down: Use clamps or heavy objects to hold the new soles in place while the adhesive dries.
Finishing Touches:
After the adhesive has dried and the repair is complete, use a utility knife to trim any excess glue or rubber. You can also use sandpaper to smooth the edges for a clean finish.
Conclusion:
DIY shoe repair with glue is a cost-effective way to extend the life of your favorite footwear. With the right materials, some patience, and a bit of effort, you can restore your shoes to their former glory, all while saving money and reducing waste. So, the next time your favorite pair starts showing signs of wear, don't rush to the store for a replacement – give DIY shoe repair a try and enjoy your well-maintained shoes for longer.